I knew this one would be back....
So a few years ago, I had a Ritchey Chretien (RC), and although I didn't get on with the particular model that I had, I guessed at some point it would return for another spell at TANO!
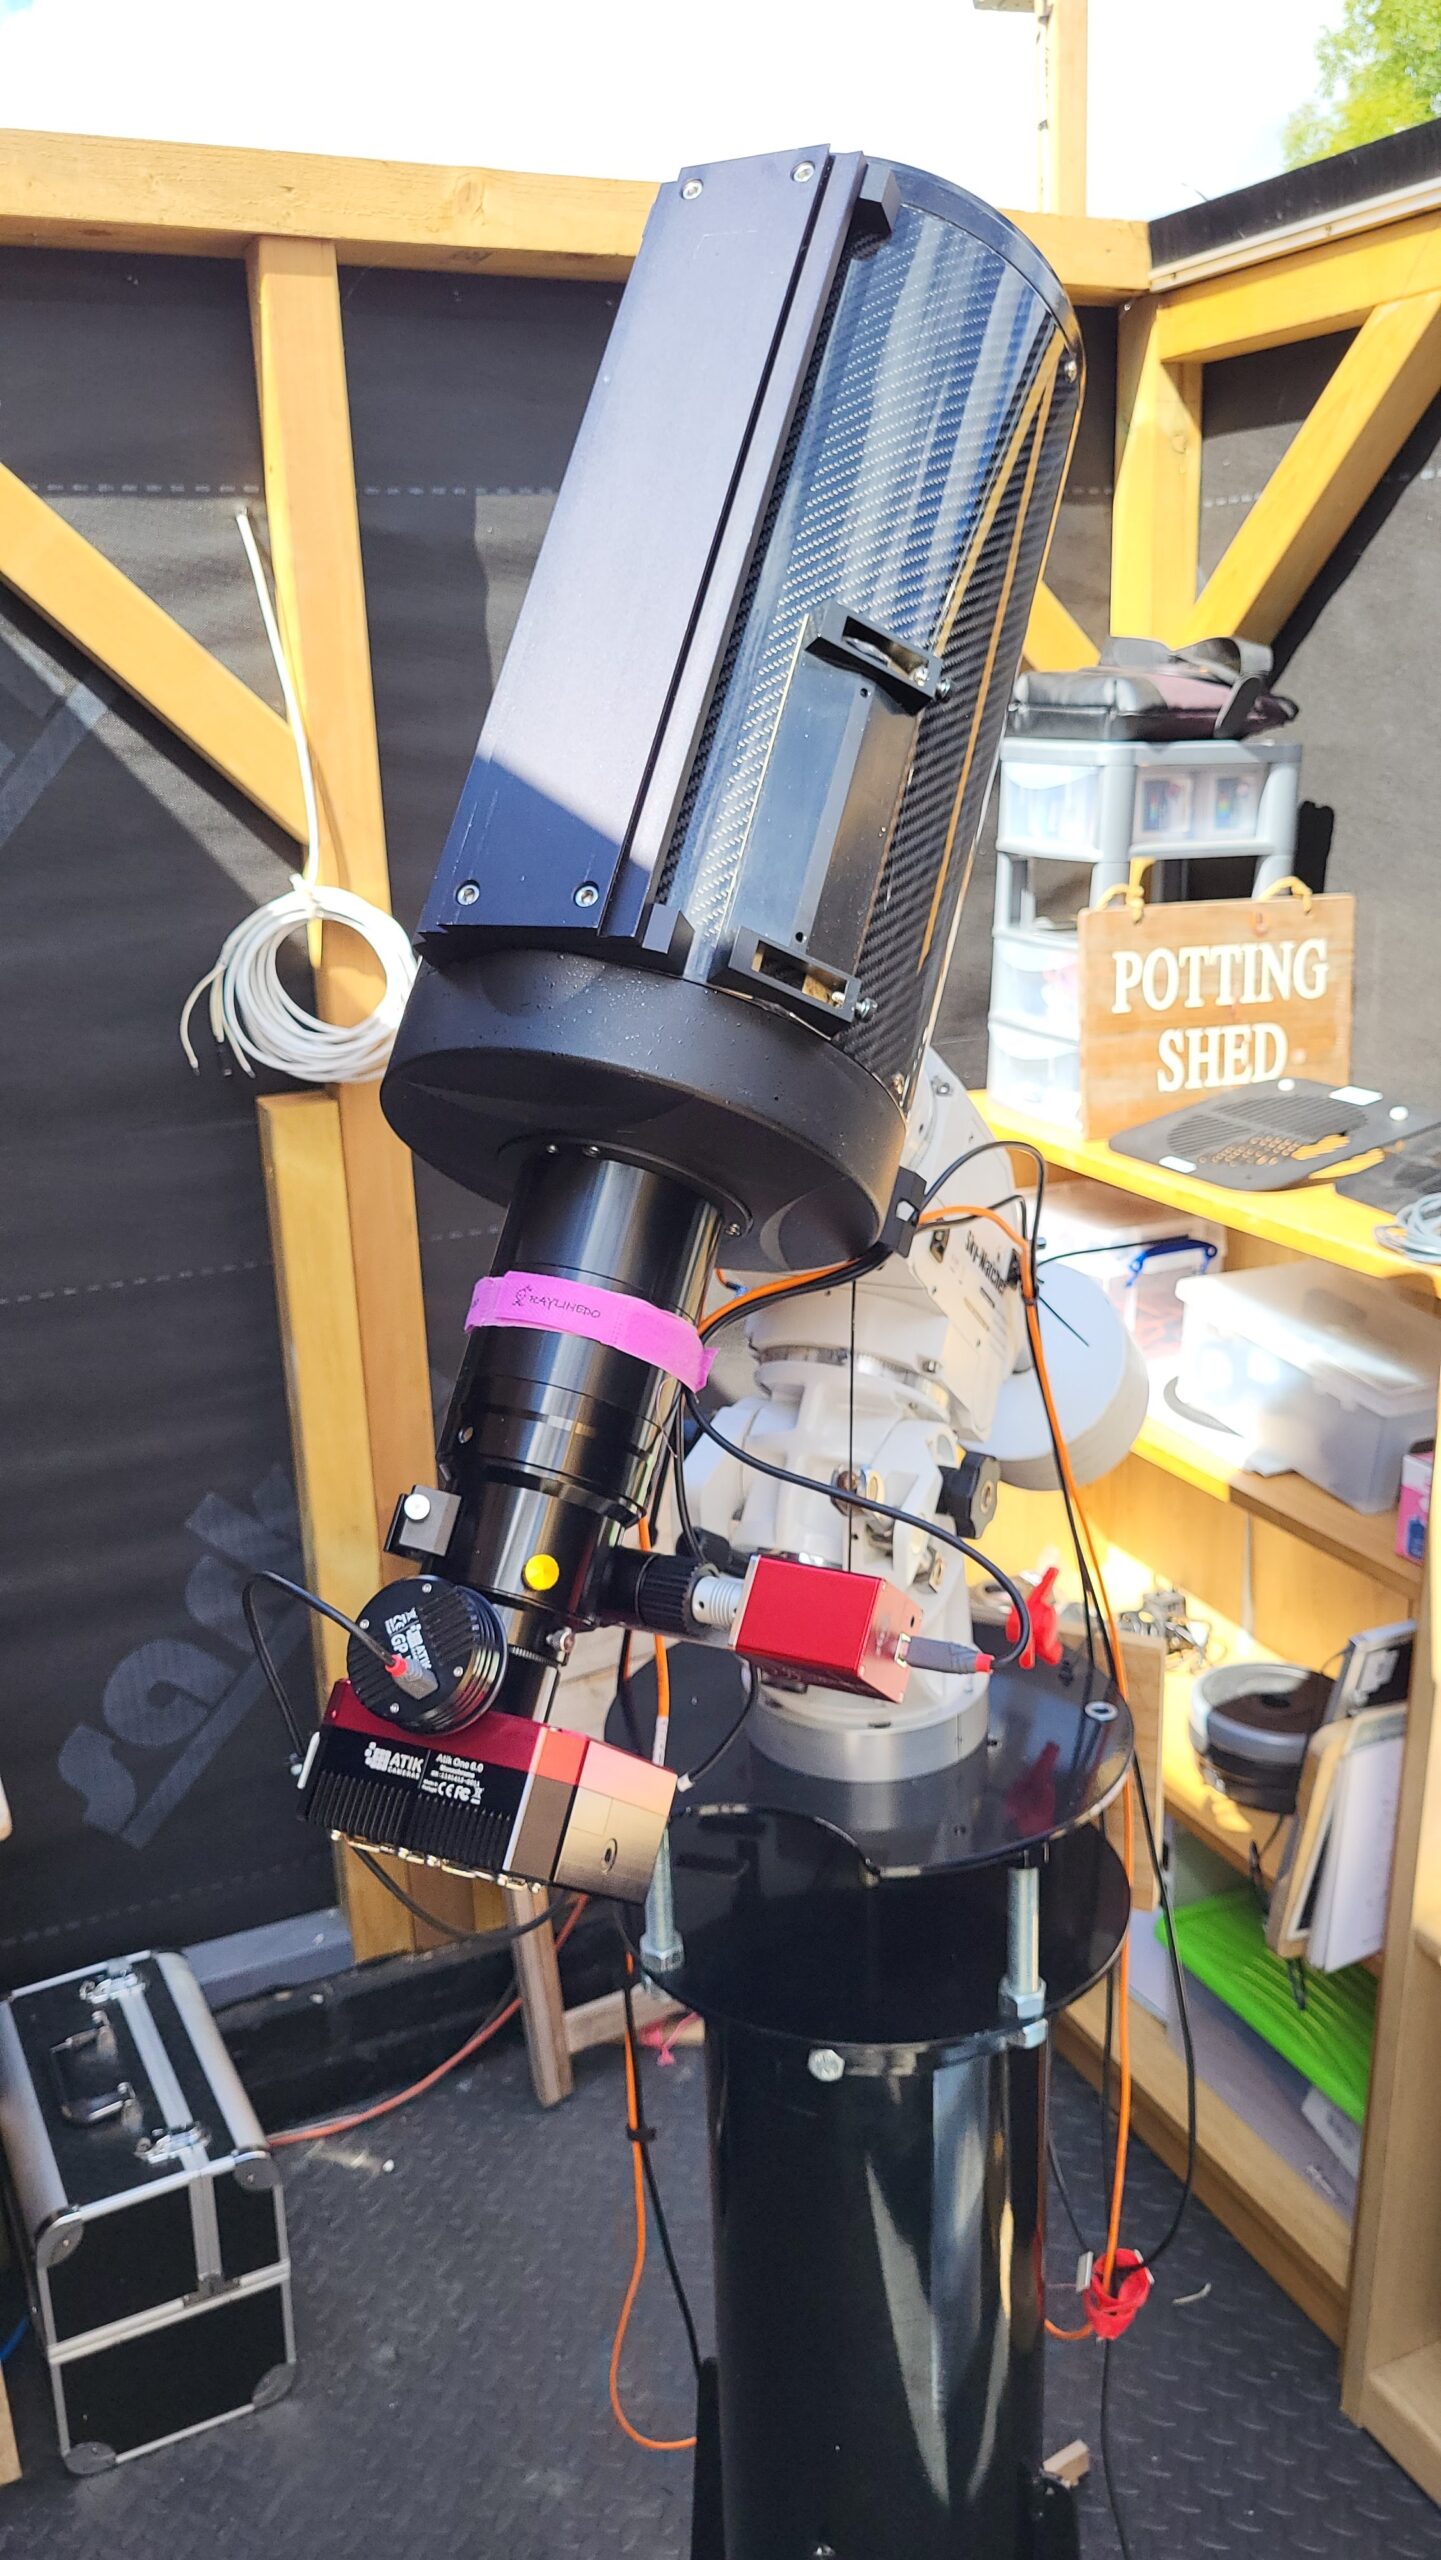
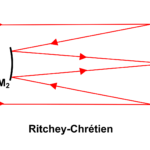
The optical design of the RC is of two hyperbolic mirrors, designed to eliminate coma (off axis errors). Most of the world's research grade instruments are of an RC design - including Hubble! My one is manufactured by GSO. They make a lot of the amateur RC (as well as refractors and reflectors) under different brand names.
The mechanical design of this particular model is known to be.... challenging, shall we say, to get the collimation just right. The art of aligning the two mirrors is quite critical, especially with this particular optical design. Because of this, I was a little nervous about acquiring this scope. I mention I had one before - that was also a GSO scope. The issue is that the focuser, scope housing and mirror cell are all connected - they cannot be independently adjusted to give precise collimation.
The result is that when you think you have aligned the secondary and the primary, the focuser is then out of line. So adjusting the focuser puts the primary back out of alignment again - and so on, until you have to accept it will never be as good as it can be. The other main issue is the focal length. Just because it says 1650mm on the sticker, does not necessarily mean it is 1650mm in practice! And we get why. They are made to a price point using standard, repetitive manufacturing processes, designed to perform within a given tolerance. But sometimes, we want a bit more than that!
However, this particular scope has been completely stripped down to it's component parts, very carefully and precisely measured - mechanically and optically - and then collimated within an inch of it's life! So after an in-depth review of the work undertaken, I purchased it and set about installing into the observatory....
Star testing
With the EQ6 safely returned and installed into the observatory again, it was time to get the RC mounted, balanced and actually see if the collimation needs tweaking.
Well, to my absolute surprise and delight, it would seem not! The three images here show the defocussed star, bhatinov mask focussing and a short exposure showing some very nice stars indeed. This does need more extensive testing and confirmation - literally as soon as I got the scope mounted the weather broke and we have had plenty of cloud to thwart my attempts to check and test...
David, the seller, kindly provided me with a whole raft of documentation on the telescope, including all the work on measuring the precise focal length and checking with ronchi gratings, mountains of information on collimating RCs in general, and a library of images during his strip-down and re-engineering works. I am eternally grateful to him for providing this data - it would have taken a long time to accumulate it all and get it to a useable position.
So, now, it is a waiting game - waiting for the clouds to clear so I can make the final set ups (focus training, guiding set up, etc.)


While I wait...
While I wait for the skies to clear again, I got the ZWO EAF installed. I had already purchased this for the Cassegrain that had to be sacrificed for this scope, and hadn't yet bought any brackets for it. I wanted to see if the standard bracket would fit, or if I could design / 3D print something.... Well, the standard bracket just about fitted using one fixing screw - enough for me to be able to make a firm connection and at least run some tests...
Having installed the EAF on the focusers course focus knob, I set about setting up the auto focus in Sequence Generator. However, I found that the number of steps from focus to the recommended 3-5x HFR was just too low to get a repeatable solution when running auto focus. This was quite frustrating - my previous autofocuser, the SharpSky pro, was of much higher resolution (more steps) and so each movement was a few hundred steps rather than the two or three I was seeing here.
So, I looked to see if I could mount the EAF onto the fine focus knob. As with all these designs, the fine focus mechanism itself is integral to one of the course focus knobs and the fine focus knob is a smaller diameter. Therefore any bracket has to overcome the overall diameter of the course knob to allow the EAF to mount squarely on the fine focus shaft...
After sitting and thinking about this for a while, I realised that if I could just raise the standard ZWO bracket up and away from the focuser body, I would still have enough adjustment on the EAF itself to mate with the fine focus shaft! Off to FreeCAD I went and designed a quite simple plate with three hole - two for fixing to the focuser body, one for taking the fixing screw for the EAF and printed it on my ANET A8.
With that done, the EAF fitted to the shaft quite well - although would probably benefit from slightly small aperture on the coupler. Running some daytime tests and the focuser moves nice and smoothly and more importantly, at a much slower rate than before.
So, again, it's a waiting game before I can test under the skies, but am hopeful!!


