Post image

Flocking of the OTA – Complete

It's cloudy... again!

As I mentioned in the last post, the flocking in the OTA needed attention. In warm weather, it would lift off from the OTA and this would be visible in the image. This was due to the flocking strips being a bit too wide so there is not enough material to stretch when the OTA warms up.

So, with the weather not being conducive to astronomy, I decided to get this job done!

Disassembly

First step was to disassemble the scope, carefully removing the top and bottom dovetail plates, secondary, secondary holder and then the mirror assembly. This all went very well, no issues. I did note that the mirror would benefit from a wash at some point, but not just now.

With the delicates out of the way, I stripped out the original flocking and cut some new strips. I decided on a 10cm width - for no other reason that it seemed a good number! Incidentally, when you live in a house with 2 cats and dog ANY black material looks like it has been used an animal's bedding - despite keeping it safe in the observatory!! So, bring on the gaffer tape to use as a de-hairer!!

Reassembly

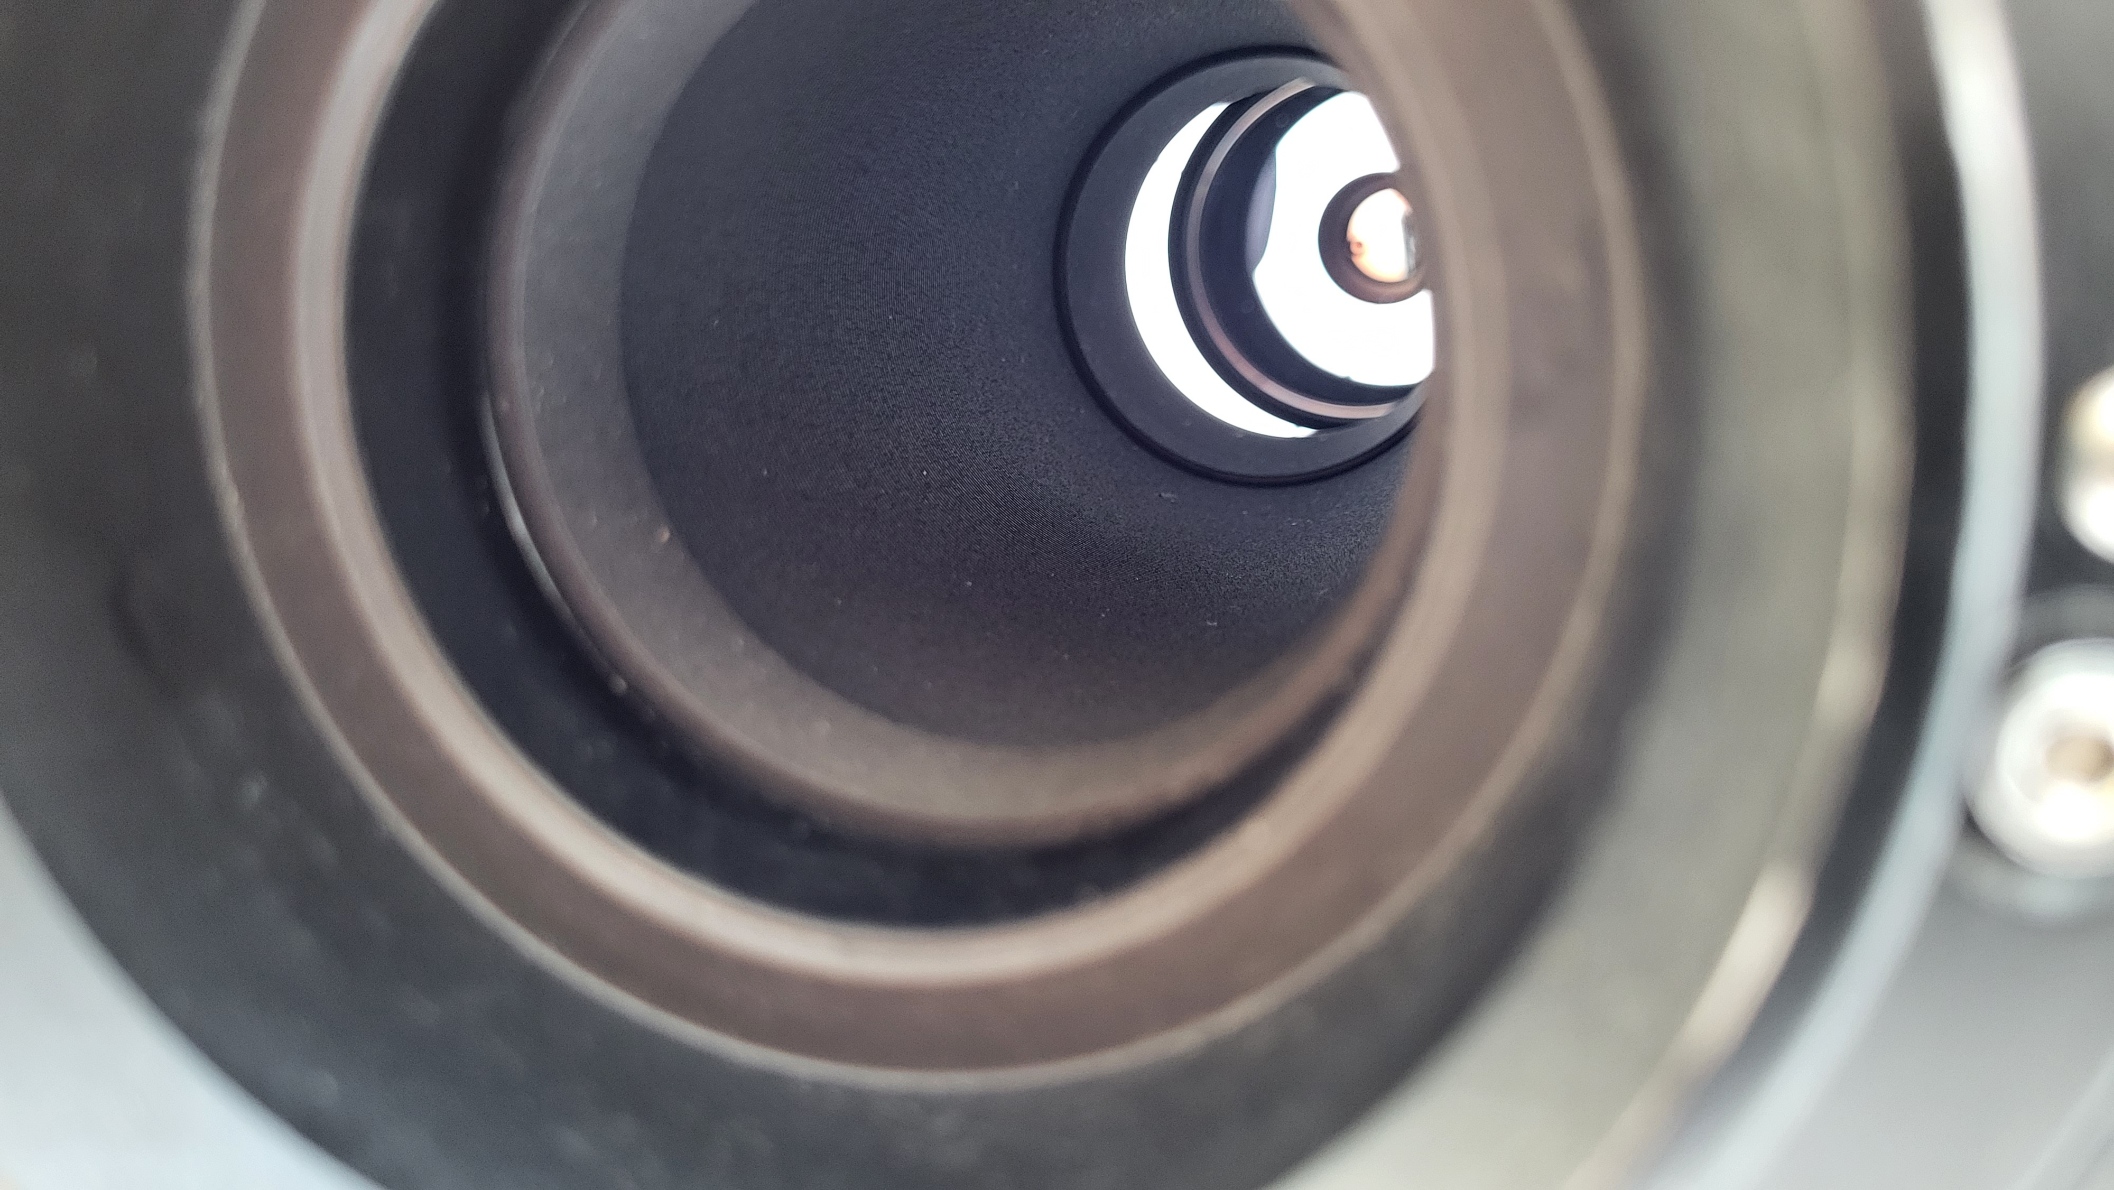
And then it was time to re-assemble the scope - just a reverse of the dis-assemble procedure really. And because the mirror cell and secondary assemblies are marked with the positions on the OTA, I was 100% sure it was going to back exactly right. Notice on the underside of the secondary, the groove that has been cut into it, and the 3 'dimples'. These are the exact positions of the secondary collimation screws, and the exact depth for those screws. 

The mark on the secondary is aligned at exactly 3.5 turns from when the thread starts, so when I install the secondary, once the marks are aligned, I know it is in exactly the right place. Of course, only a star-test of the collimation would prove that everything is exactly aligned and back where it should be...

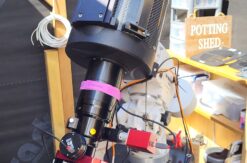
The images below show the various stages of the work...

Scroll to top