EQ6 Altitude Modification
As everyone who owns an EQ6 knows, the altitude adjustment in the mount is not the smoothest of operations!
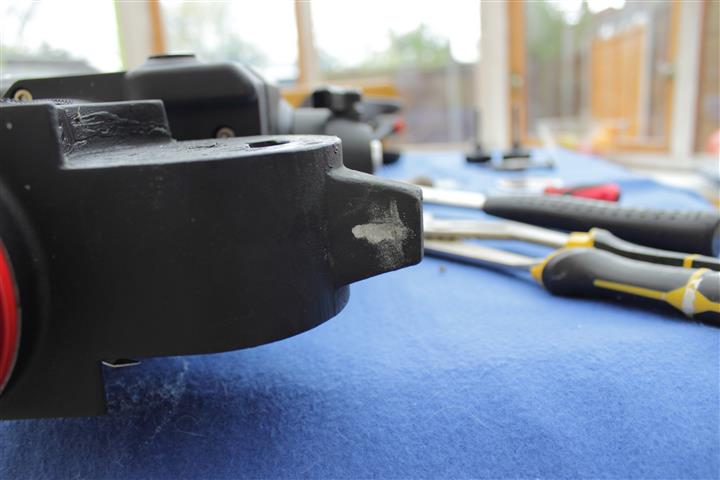
Basically it works on the push-push principle with two opposing bolts – one on the North side of the mount, one on the South. The other thing that EQ6 owners do is to change the standard adjustment bolts – they are prone to bending! The end result of this method is that the bolts gradually gauge out a hole in the aluminium block and once this happens, smooth movement is virtually impossible!
I have tried to remedy this previously by cementing a small piece of brass onto the aluminium block – you can see the results of this in this write-up!
So, I have been looking for an alternative way of adjusting the mount,. I had come across the EQ6 Wedge but at €320+ it’s a bit more than was in my budget!
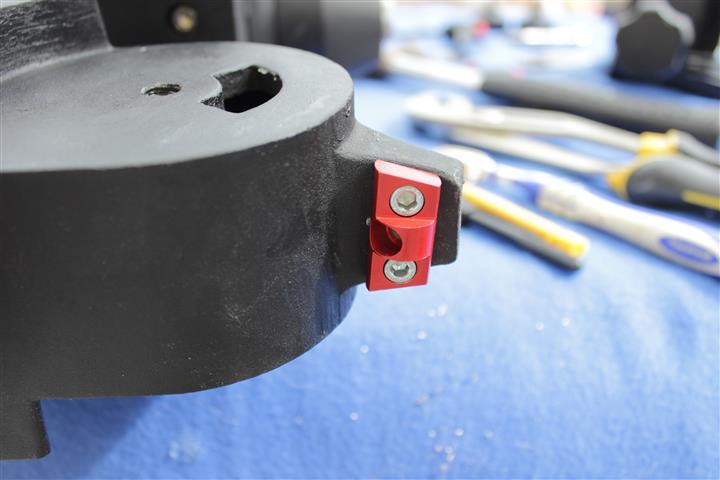
Once again SGL came to my rescue in the form of member Gunnar – he had made a neat little mod that hopefully solves the problem! So, I ordered one, along with the necessary tap and drill bit, and once I had everything together I did the mod one Sunday morning – took just over an hour! Here is the step by step process….
Remove the scope and weights and remove the mount off the pier. Get all the tools needed together and prepare the work area. Here, I have commandeered the dining table!
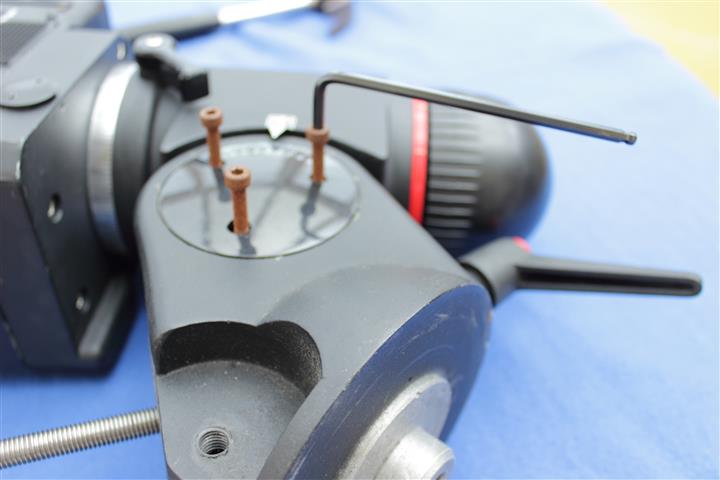
Remove the head from the base. The three hex-head bolts are from another mod to adjust the pressure on the altitude bearings. So, you need to remove the two side plates (one with the logo and one with the graduated altitude scale). Go careful – you can get these off in one piece, but it takes time…
Carefully drill the holes. The holes need a 4.2mm drill bit. You can see that the lower hole is a fraction off to one-side. During the final assembly, I found this was not an issue, the bolt located fine – but do take your time and get this right!
This was the bit I was quite nervous about as I am not an engineers and have never tapped anything before! However, by taking my time and following Gunnar’s excellent directions, it went smoothly and did not take too long to do.


